
Bulk Upload feature allows you to upload a zip file of images and/or a spreadsheet of tags and automatically create Creative Assets and corresponding Creatives from each valid file in the zip files or tag in a spreadsheet.
Follow these steps to upload creatives through the Bulk Upload feature in Bucksense console:
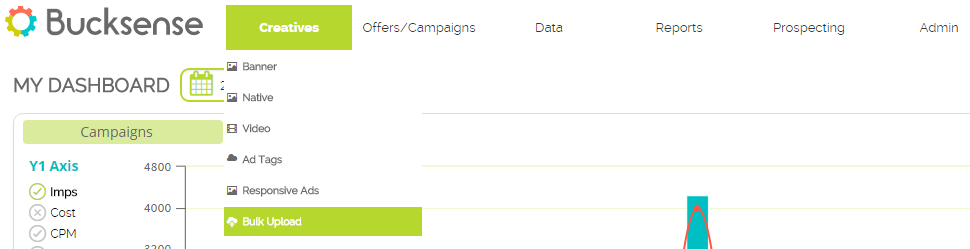
- Click Creatives tab and select Bulk Upload from the drop down menu
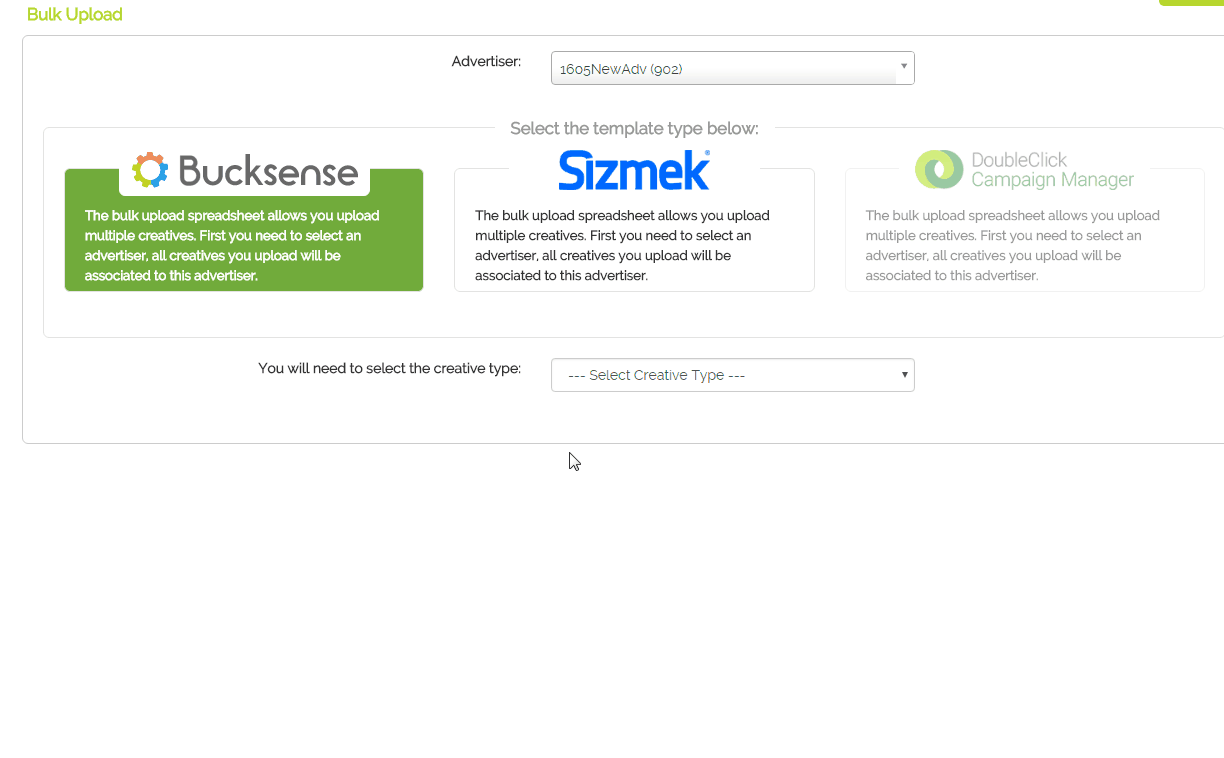
- Select the Advertiser then choose the template you want to use between Bucksense, Sizmek and Double Click (coming soon)

BUCKSENSE TEMPLATE
Bucksense template allows you to upload the following creative types: Banner, Native, AdTag, Video URL and Video XML.
SIZMEK TEMPLATE
Sizmek template allows you to upload Banner creatives. - Once you have chosen a template type, select a creative type from the drop down menu then Download the Template File (XLSX)
How to fill in the XLSX file (BUCKSENSE TEMPLATE)
Based on the creative type you have selected, you will get an XLSX file containing sample lines about how you should fill in it (don’t add items to the file or it will be rejected).
You just need to delete the sample items and insert your own.
In each file you can optionally add the Campaign ID in the related cell, if you want upload and use these creatives in an already created campaign (campaigns must have been created below the same advertiser you are using to upload creatives).
If you don’t add a Campaign ID, your creatives will only be uploaded and not associated to campaigns.
See below the details for each creative type:
- BANNER

Creative Name, Width, Height and Creative (file name) are mandatory fields.Clickthrough URL, Impression Tracking and Language can be added if you want create targeting exceptions (see here more). - NATIVE
 Native Name, Icon Image (80×80), Main Image (1200×627), Description, Call2Actionand Rate are mandatory fields (see here more about Native).
Clickthrough URL, Impression Tracking and Language can be added if you want create targeting exceptions (see here more). - Ad Tag
 AdTag Name, Type, Code Vast, HTTP/HTTPS, Width and Height are mandatory (see more info about Ad Tags here).
Clickthrough URL and Language can be added if you want create targeting exceptions (see here more). - Video URL

Ad Creative Video Name, Vast URL and HTTP/HTTPS are mandatory fields (see more here about video creatives)
You can optionally add Impression Tracking and Language cells to create targeting exceptions (see here more).
In the XLSX file for this type of creative, the Campaign ID cell is not available.
Once you have uploaded your Ad Creative Video, you have to access the related campaign settings and associate it.
- Video XML

Ad Creative Video Name, Vast XML and HTTP/HTTPS are mandatory fields (see more about video creatives here).
Impression tracking and Language can be added if you want create targeting exceptions.
How to fill in the XLSX file (SIZMEK TEMPLATE)
If you chosen Sizmek template and accordingly the Banner creative type, you will get an XLSX file containing sample lines on how you should fill in it (don’t add items to the file or it will be rejected).

Ad Name, Width, Height and Creative are mandatory fields.
Unsecure Extra HTML, Secure Extra HTML, Start Date and End Date can be optionally setted.
Clickthrough URL can be added if you want create targeting exceptions for this creative.
How to upload the XLSX file
Once you have fill in the spreadsheet with the informations about your creatives, you have to upload it in Bucksense console:
- BANNER and NATIVE: for these type of creatives, you need to upload a ZIP file containing the XLSX filled out with the details about your creatives and the creative files (only gif, png and jpeg are supported formats).
Simply insert all the items in the ZIP file without creating a folder.
Make sure all files are named in the same way you added them to the cells in the XLSX file (otherwise they will be rejected). - Ad Tag, Video Url and Video XML: for these creatives you just need to upload the XLSX file.
You’ll find all the creatives you have uploaded through the Bulk Upload in the respective creative sections of the console (for example if you have uploaded Native creatives, you’ll find them by accessing Creatives tab and Native).
If you have entered (where it was available) a Campaign ID in the spreadsheet, your creatives will be also associated to that Campaign ID (you can check them, by accessing the Campaign List below Offers/Campaigns tab).