You can set up reports to automatically run on an hourly, daily, weekly, or monthly basis. These reports will be sent to you and to the people you have selected to receive them.
After you have ran your Acquisition Campaigns reports you can schedule the automated sending. All the Filters, Dimensions and Metrics you have selected will remain.
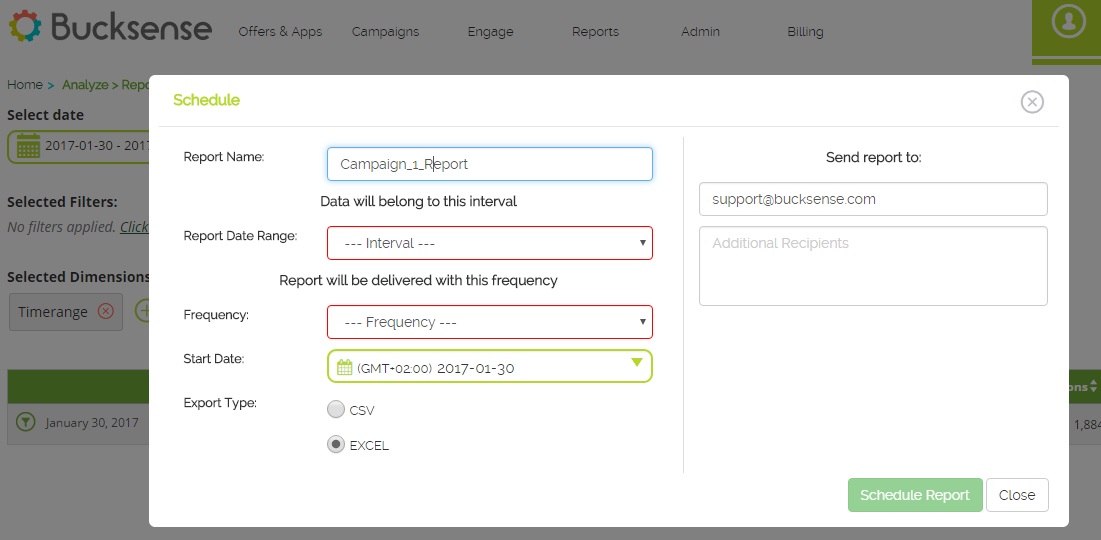
Complete these steps to run and customize your Schedule Report:
- Click “Schedule Report” button
 on the right
 - Add a Report Name
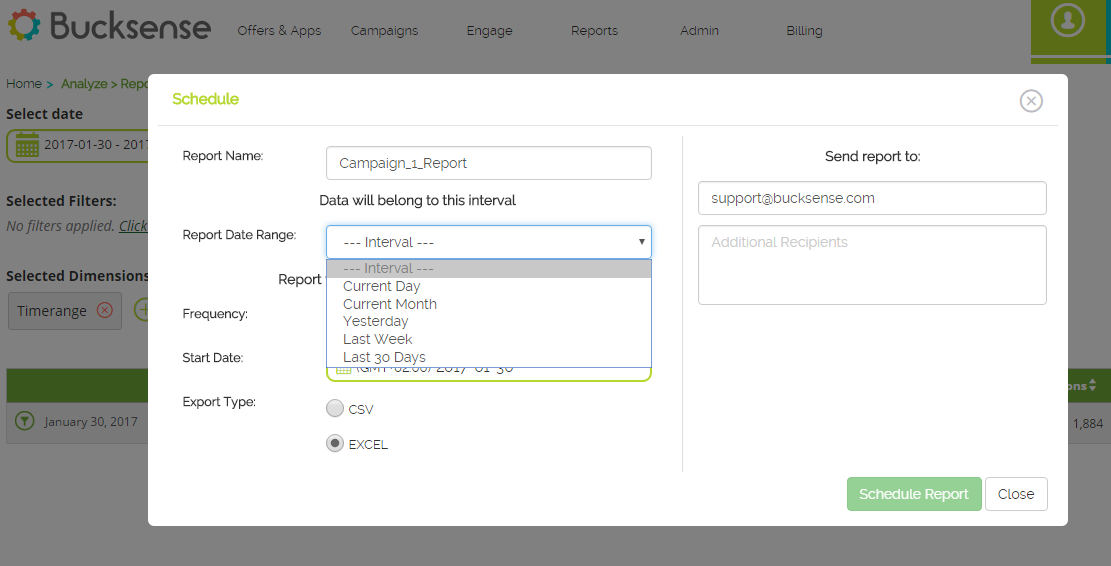
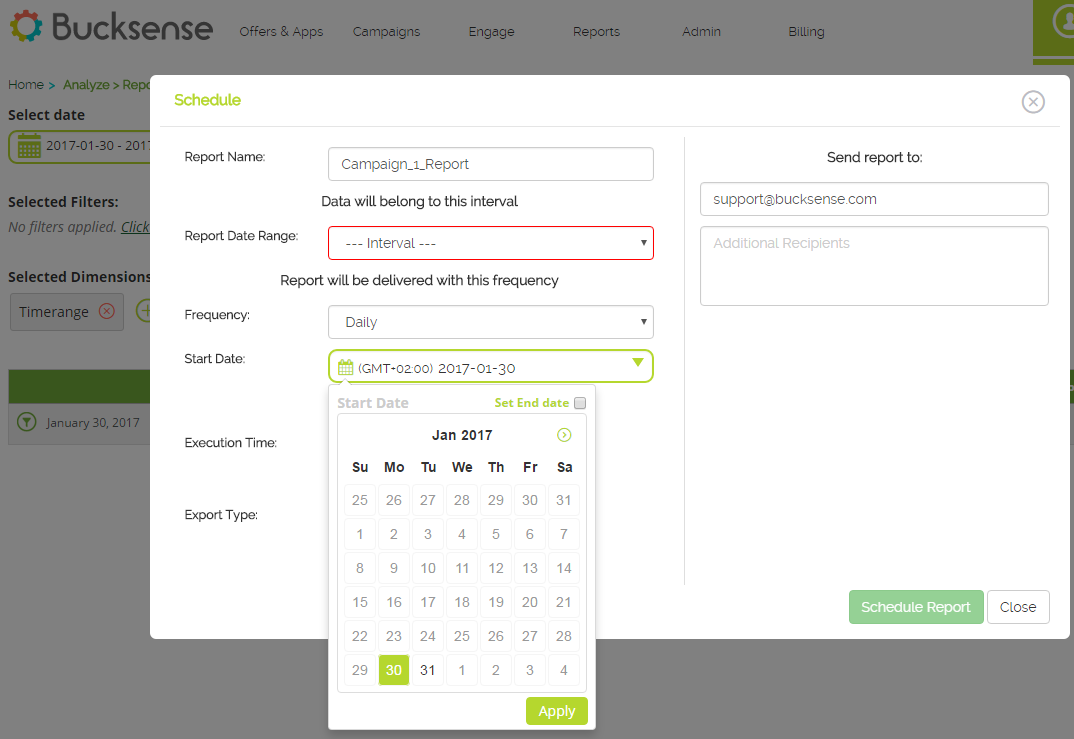
- Select a Report Data Range to select the time interval for the data you want to receive. You can choose between Yesterday, Last Week, Last Month, Current Month, Current day
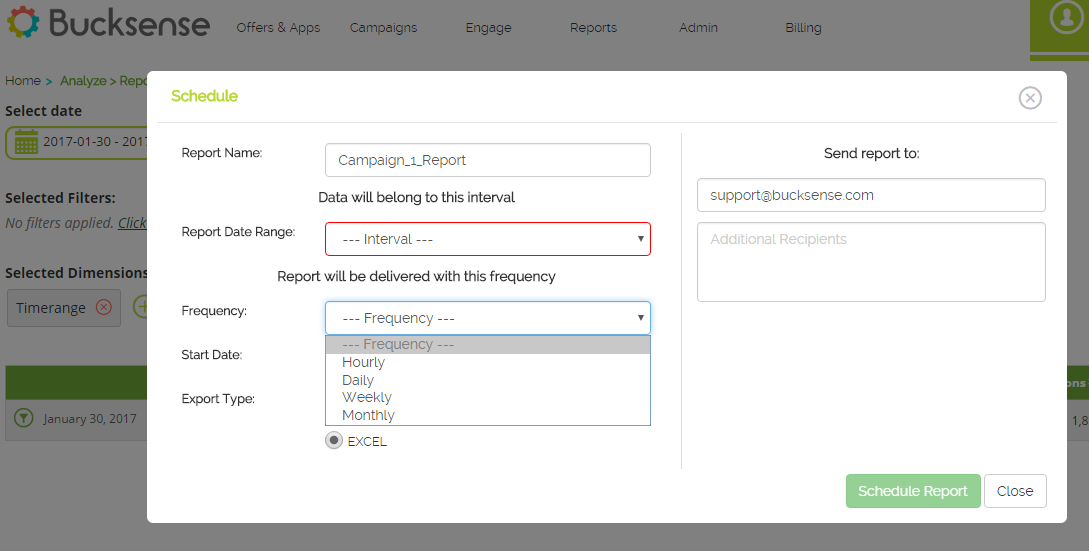
- Set the Frequency with which you want to receive the report:
- Hourly: choose whether you want hourly reports delivered every 3 or 6 hours
- Daily: set the time when you want to receive the report
- Weekly: enter the day of the week and the time when you want to receive the report
- Monthly: enter the day of month and the time when you want to receive the report
- If you have selected Daily, Weekly, or Monthly in Frequency field, you also need to set the Execution Time at which you want receive the report (the Time Zone is the one you have set for your account)

- Set the Start Date from which you want to start receiving the report. If you want, you can also set an End Date using the relevant checkbox
- Select to receive the file in either CSV or EXCEL
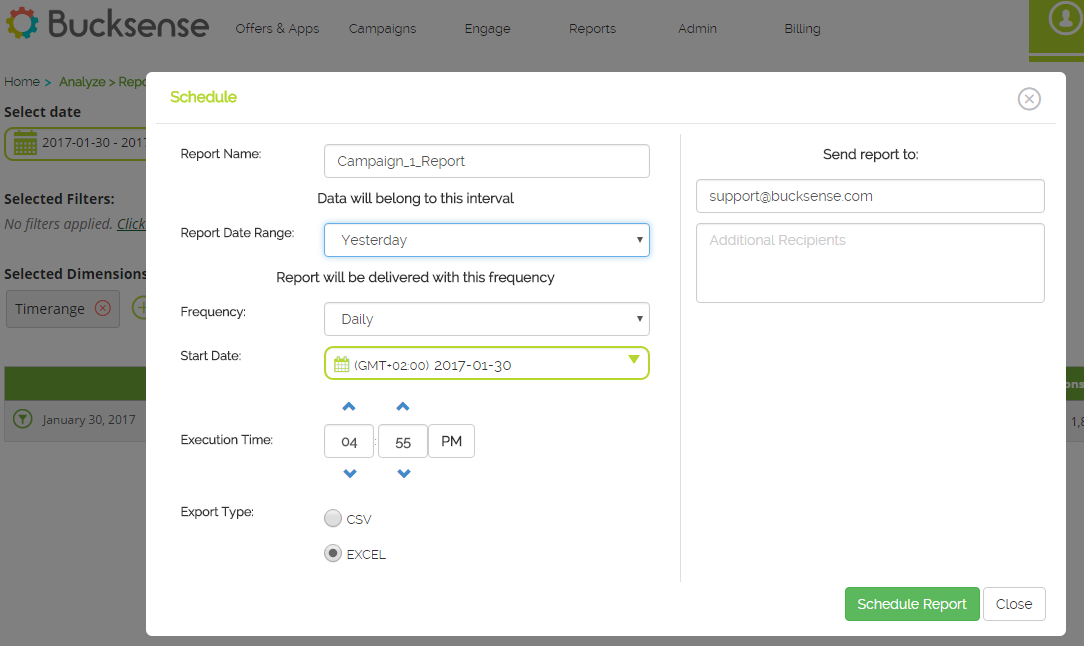
In the right fields you can set the email addresses to which send the report.
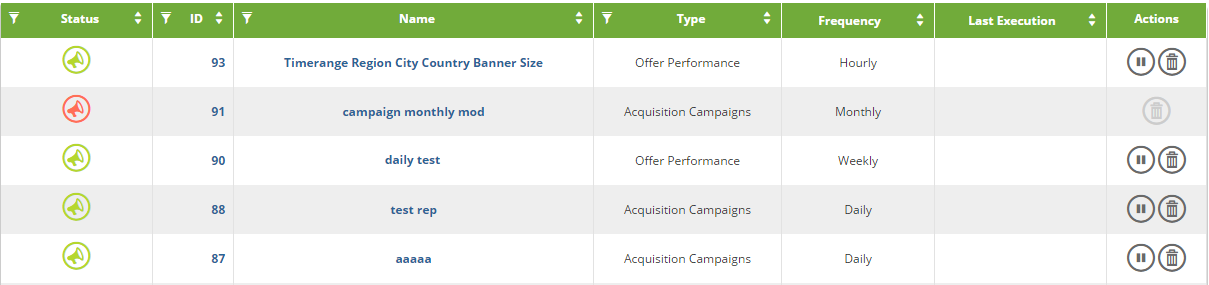
You can always access your Scheduled Reports, by clicking Scheduled Reports under Report section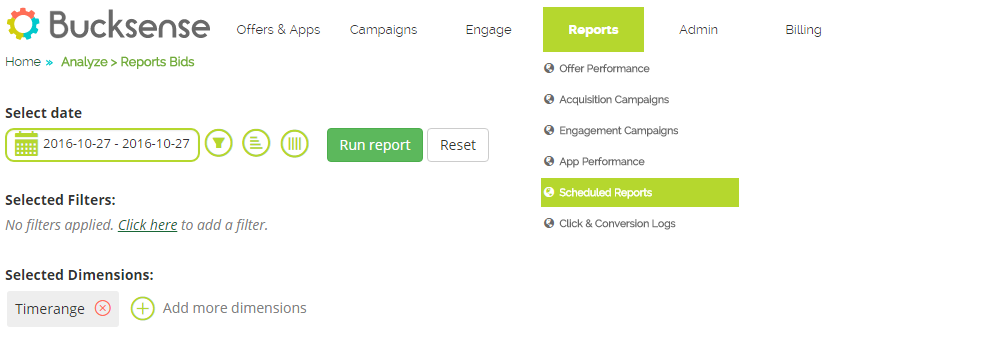
You can see the informations about: Status (Active or Deleted), ID, Name, Type, Frequency and Last Execution.
In the last column named ‘Actions’ you can easily pause, play or delete each Scheduled Report.
By clicking on the report Name, you can edit the settings of that Scheduled Report.