(Premium Feature: ask to your Account Manager for more info)
Bucksense allows you to create Audiences based on how users interact with your creatives or how high their conversion intent is.
You can build an audience based on a Campaign event, such as an impression delivered, a banner clicked or a conversion generated. Then, easily use the audience built as a list to exclude (blacklist) or include (whitelist) in your campaign, according to your goals (see here Business cases of how Audiences built by Campaign events can improve your campaign performance)
Follow the steps below to build Audiences from campaign events:
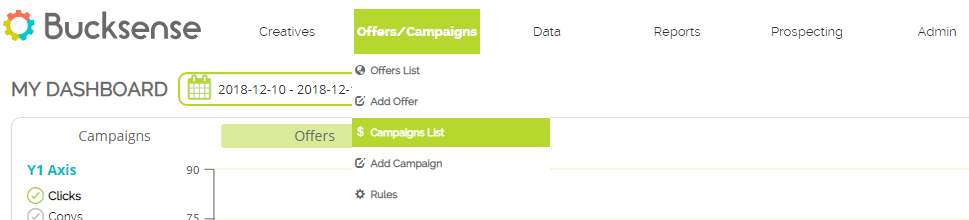
- Select a Campaign for which you want to create audiences from Campaign List (Offers/Campaigns Tab)
- Click Advanced section and select Build Audiences by campaign events

- Click on Add new audience button

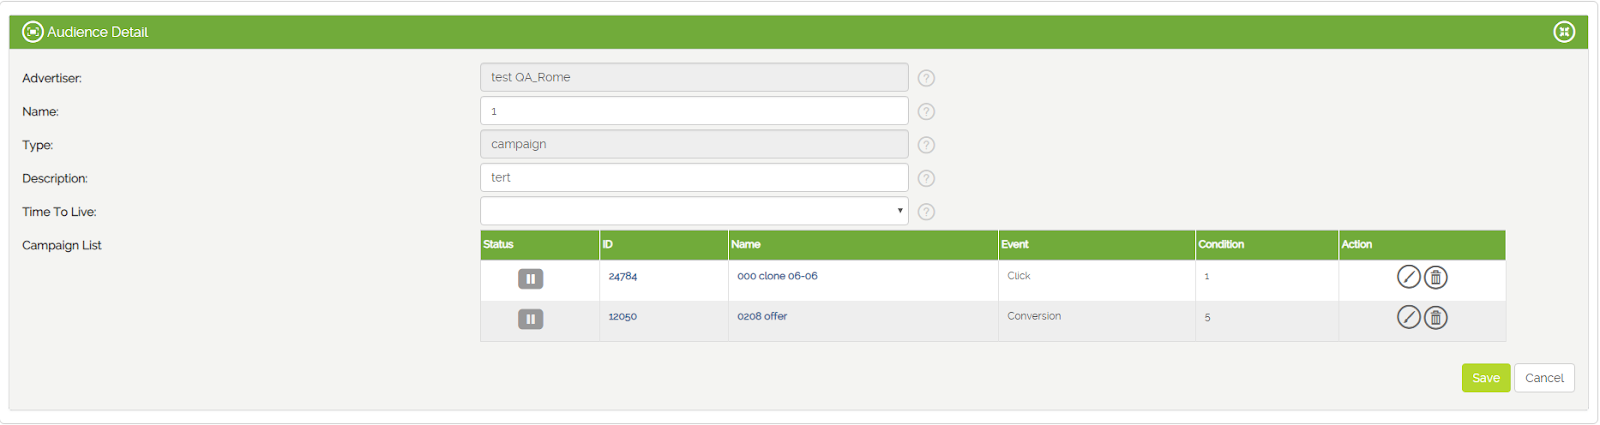
- Add a Name for your Audience and a brief Description.
 Time To Live (the time interval that users will remain in the audience) is set by default to 1 week.
Once created the Audience, you can set a different value by selecting First Party Audience below the Data tab, then click on the Audience Name from the list and choose a value from the Time To Live drop down menu.
Available values are: 6 hours, 12 hours, 1 day, 2 days, 3 days, 4 days, 2 weeks, 4 weeks.Select from the Event dropdown menu one of the following options: Conversions, Impression, Clicks to add users into an audience, based on one of these events generated in the campaigns.
Add a Condition (value) to the event you have selected.
Click on Save button to activate your Audience.
Example A: you want to create an Audience from your Campaign, made up of all the users who have clicked your banner 3 times (at least 3 times)

Example B: you want create and include in your Audience all the users who have seen your banners 5 time

Example C: you want to add all the users who have performed 1 conversion in an Audience

When the campaign associated to the audience will run, your audience will start to populate with users according to the conditions you have set.
How to Blacklist/Whitelist an Audience in a Campaign
Once you have built your audience, you can apply it to blacklist/whitelist the users in your campaigns.
In this way you are sure to exclude/include the Audience from your campaign, and so, to target the right users and reach your goals.
Please note that this can be done for all campaigns created by the same Advertiser who has created the Audience.
Follow these steps to associate the Audience in your campaign:
- Select a Campaign for which you want to associate your audience from Campaign List (Offers/Campaigns Tab).
Then access the Custom Targeting section and select Device, Placement & Audience Targeting

- Click on Campaign Audience in the List Type column, to see the list(s) you have previously created and these will be shown in the Lists in Campaign audience column
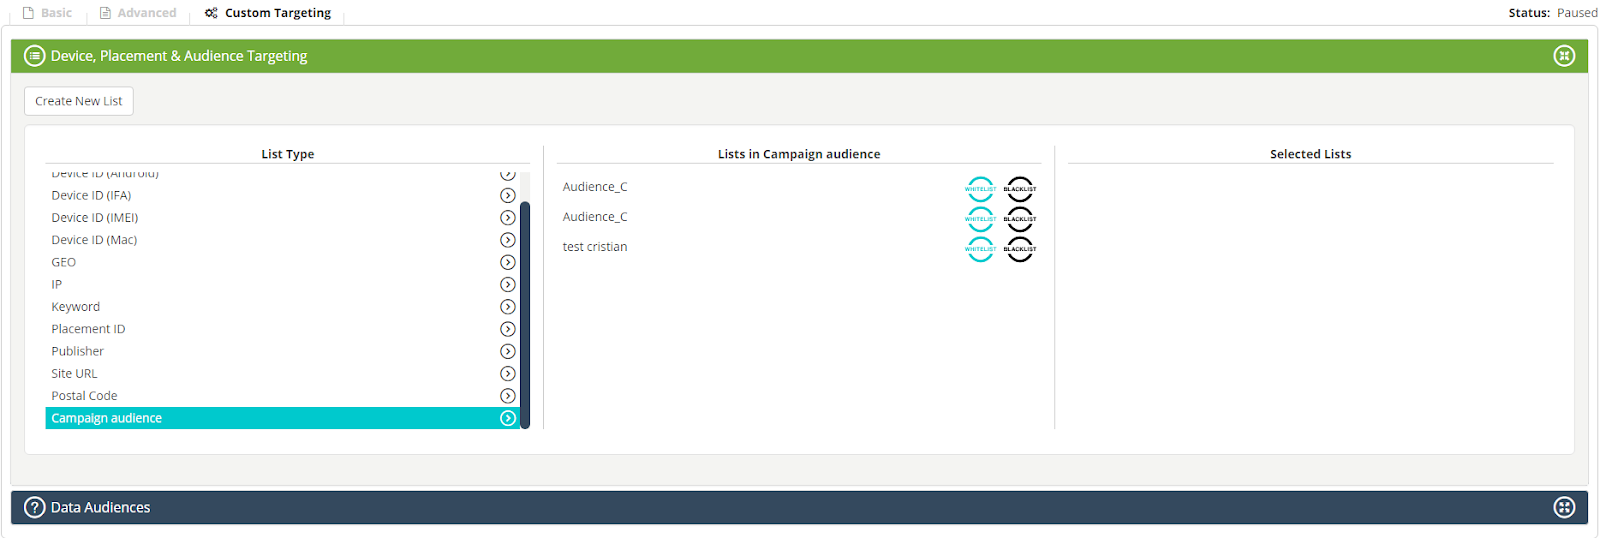
- Click on
 to include a list in your campaign or
  to exclude that list.
Selected Lists (both included or excluded) will be shown in the last column
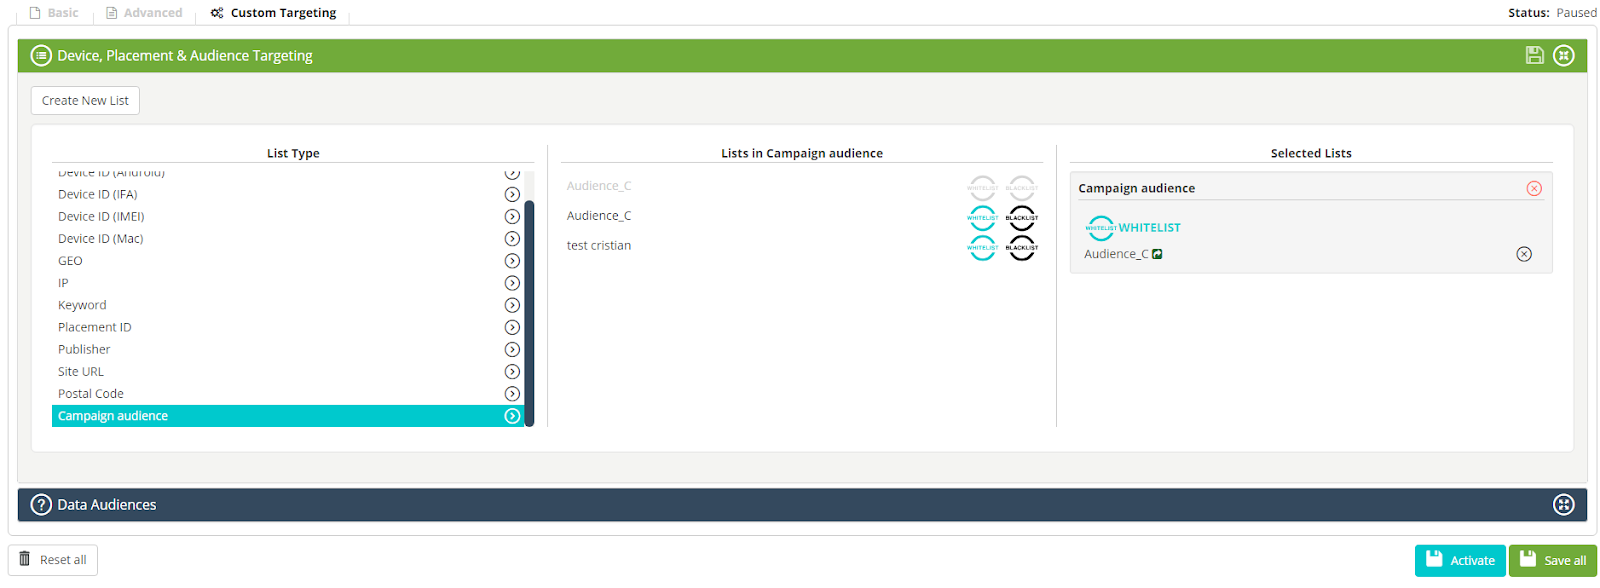
- Click on Save all button to save your settings
How to see the campaigns associated to your Audience
If you want quickly see the campaigns associated to your Audiences:
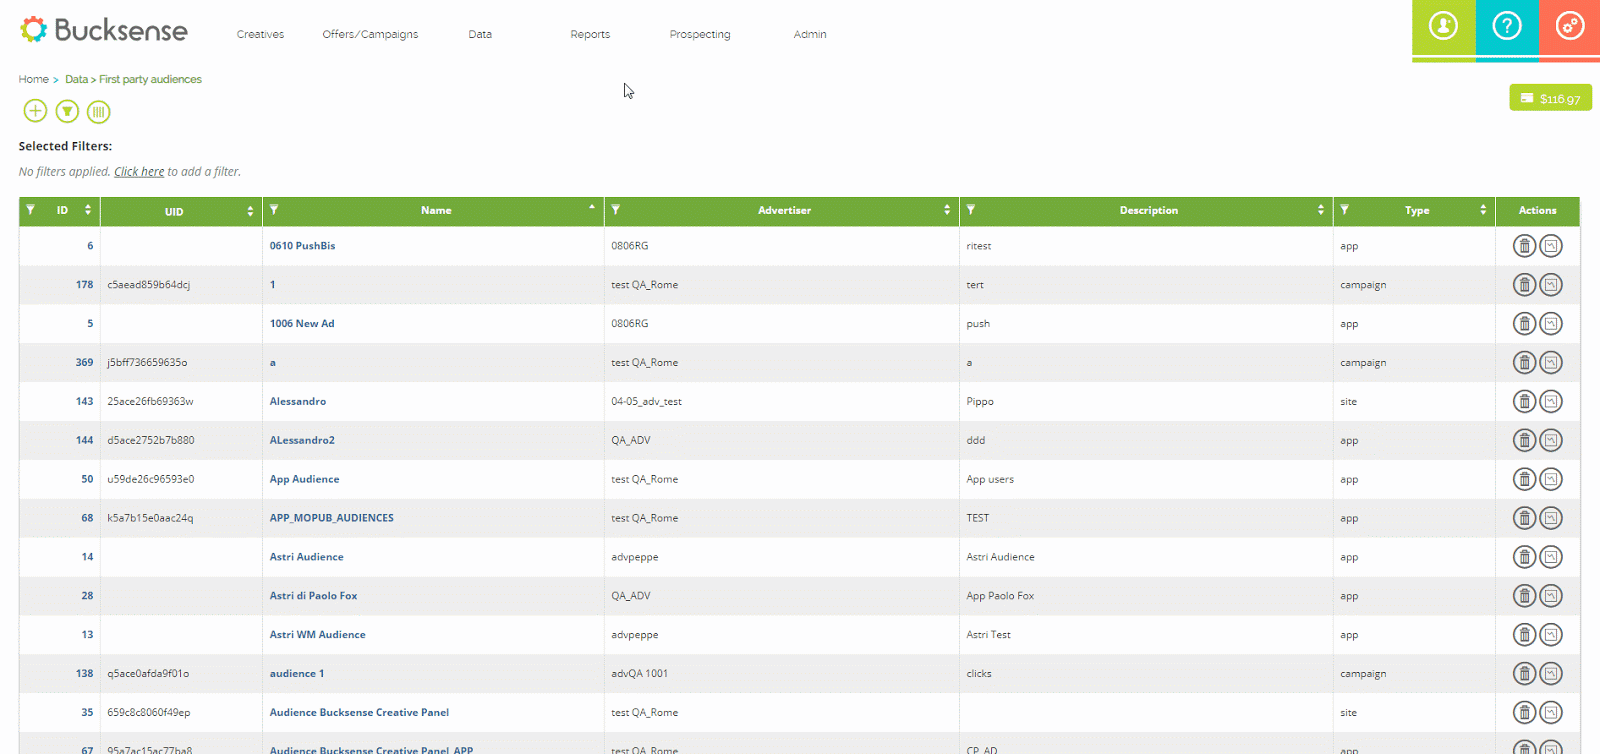
- Click on First party audiences below Data tab

- Click on an Audience name from the list to access the Audience Detail
- In the Audience Detail section you can see the following info related to the Campaign(s) associated to your Audience: Status, ID campaign, Campaign name, Event and Condition.
In the Action column, you can edit your Audience settings by clicking ,or, delete your Audience by clicking