
Why it’s important to implement a conversion pixel?
A conversion pixel is a piece of code that records the consumer interaction set as marketing goal on the advertiser’s site, for example a purchase on an e-commerce site.
Bucksense smart algorithm is designed to optimize your Bidding Strategy, taking as main criteria your conversion goal: sales, leads, subscriptions, installs, in-app purchase, etc. Whatever your conversion goal is, it needs to be communicated to our platform and this is how conversion pixel comes into play.
To make the most of Bucksense´s algorithm it is mandatory to implement our pixel to notify our platform the conversion event. By the same token, if you choose manual spend it is also important that you have a performance objective as it will allow you to see the conversions on the report and make optimization decisions.
What tracking method does it support?
Choosing the Type Of Tracking Method will depend on many factors. Some things to consider:
- Server to Server Postback is the most accurate method for tracking conversions because the communication of the conversion is happening between your server and the Bucksense server.
- Pixel tag are the most flexible and therefore the most encourage implementation. However, these are still relying on the user’s browser and therefore may be slightly inaccurate.
Bucksense recommends Server Postback pixel as the most reliable option and the easiest to implement. You need to work with a tracking tool to have the possibility to implement the postback or use Bucksense as a tracking tool. On the contrary, if you don’t have the ability to work with postbacks, our platform also supports Iframe and Image pixel.
How to implement the tracking pixel
In order to ensure you run successful campaigns with Bucksense, Bucksense must have the ability to know and attribute a conversion that was generated as a result of the traffic sent to your website or app. For this, implementing the Bucksense Conversion Pixel is absolutely essential. Our Guide for Conversion Tracking Setup walks you through the implementation process.
Integration with other tracking platforms
Bucksense includes advanced attribution and tracking tools to measure and analyse the performance of your campaigns but also our platform integrates easily with various other analytics tools.
We partner with some major tracking solutions as Appsflyer, Tune and Kochava. Being a registered publisher in these analytics solutions, you will be able select Bucksense when setting up your tracking parameters for the campaigns you want to run in our platform. Bucksense API also allows you to work with any other 3rd party tools or with your proprietary software. For Integration with other tracking solutions or your internal system, please contact your account manager.
Tracking multiple Events
Bucksense enables to track multiple events and create custom events. Events are any user interaction with content that is relevant for the advertiser and is needed to measure and analyze, for example downloads, in-app ad views, video plays, etc.
Custom events can be created on Advertiser, Offer or App levels . For example, to create an event associated to a specific offer follow these steps:
1. Click Offers/Campaigns Tab and select from the dropdown menu Offers List.
2. Search and select the Offer you want to associate with the event.
3. Click Events Section and then Create New Button.
4. Name your Event and Save. A descriptive name will help you to identify easily the type user’s interaction tracked and analyze its performance.
![]()
In Conversion tracking section you can select your main event and find the pixel that is needed to implement on your site and/or your tracking solution if you want to use another 3rd party tool. You will see all events conversion in the Bucksense reports.
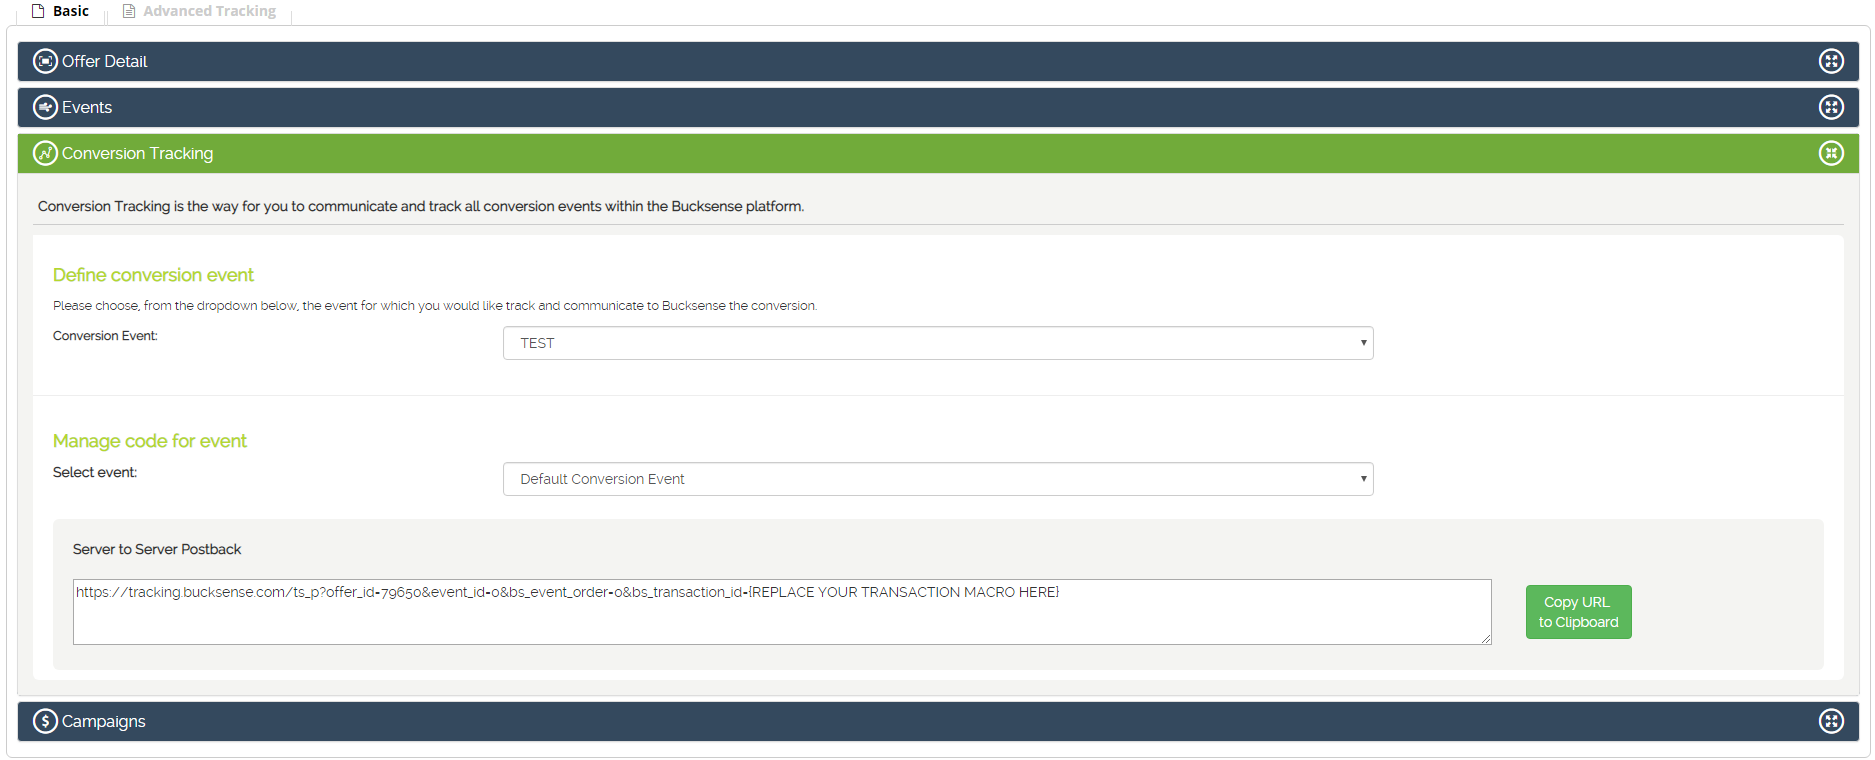
Based on what you have set a main conversion Bucksense algorithm will optimize the bidding strategies for your campaigns, that why it is so important to define the main conversion event on offer settings.
How to test your pixel?
Especially for campaigns with the spend type Optimized (the option that lets Bucksense Smart Algorithm optimize your campaigns based on your conversion goal), we highly recommend that you test the pixel before activating your first campaign.
To make sure that Bucksense is receiving the pixel, you have to trigger a conversion using our test link.
- First, create your offer and enter your tracking link on Landing Page URL in Offer Details Section, write down the ID assigned to this offer and replace {yourOfferID} with the offer ID number in this link:
http://click.bucksense.com/ts_c?ts7=1111&ts8=yourOfferID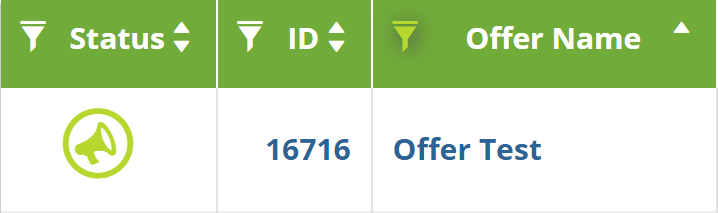 In this example, your offer id is 16716 so your test link would be: http://click.bucksense.com/ts_c?ts7=1111&ts8=16716
 - You then need to click the test link with a device, access the Landing Page URL and generate a conversion.
- Access the Offer Performance report below the Report Tab and click on
 Add filter button.
Select Offer as filter, enter the Offer ID in the apposite field and click on Run report button
- Check in the Report if the Conversion has been tracked
